Kerala Restaurant Style Mutton | Beef Biriyani
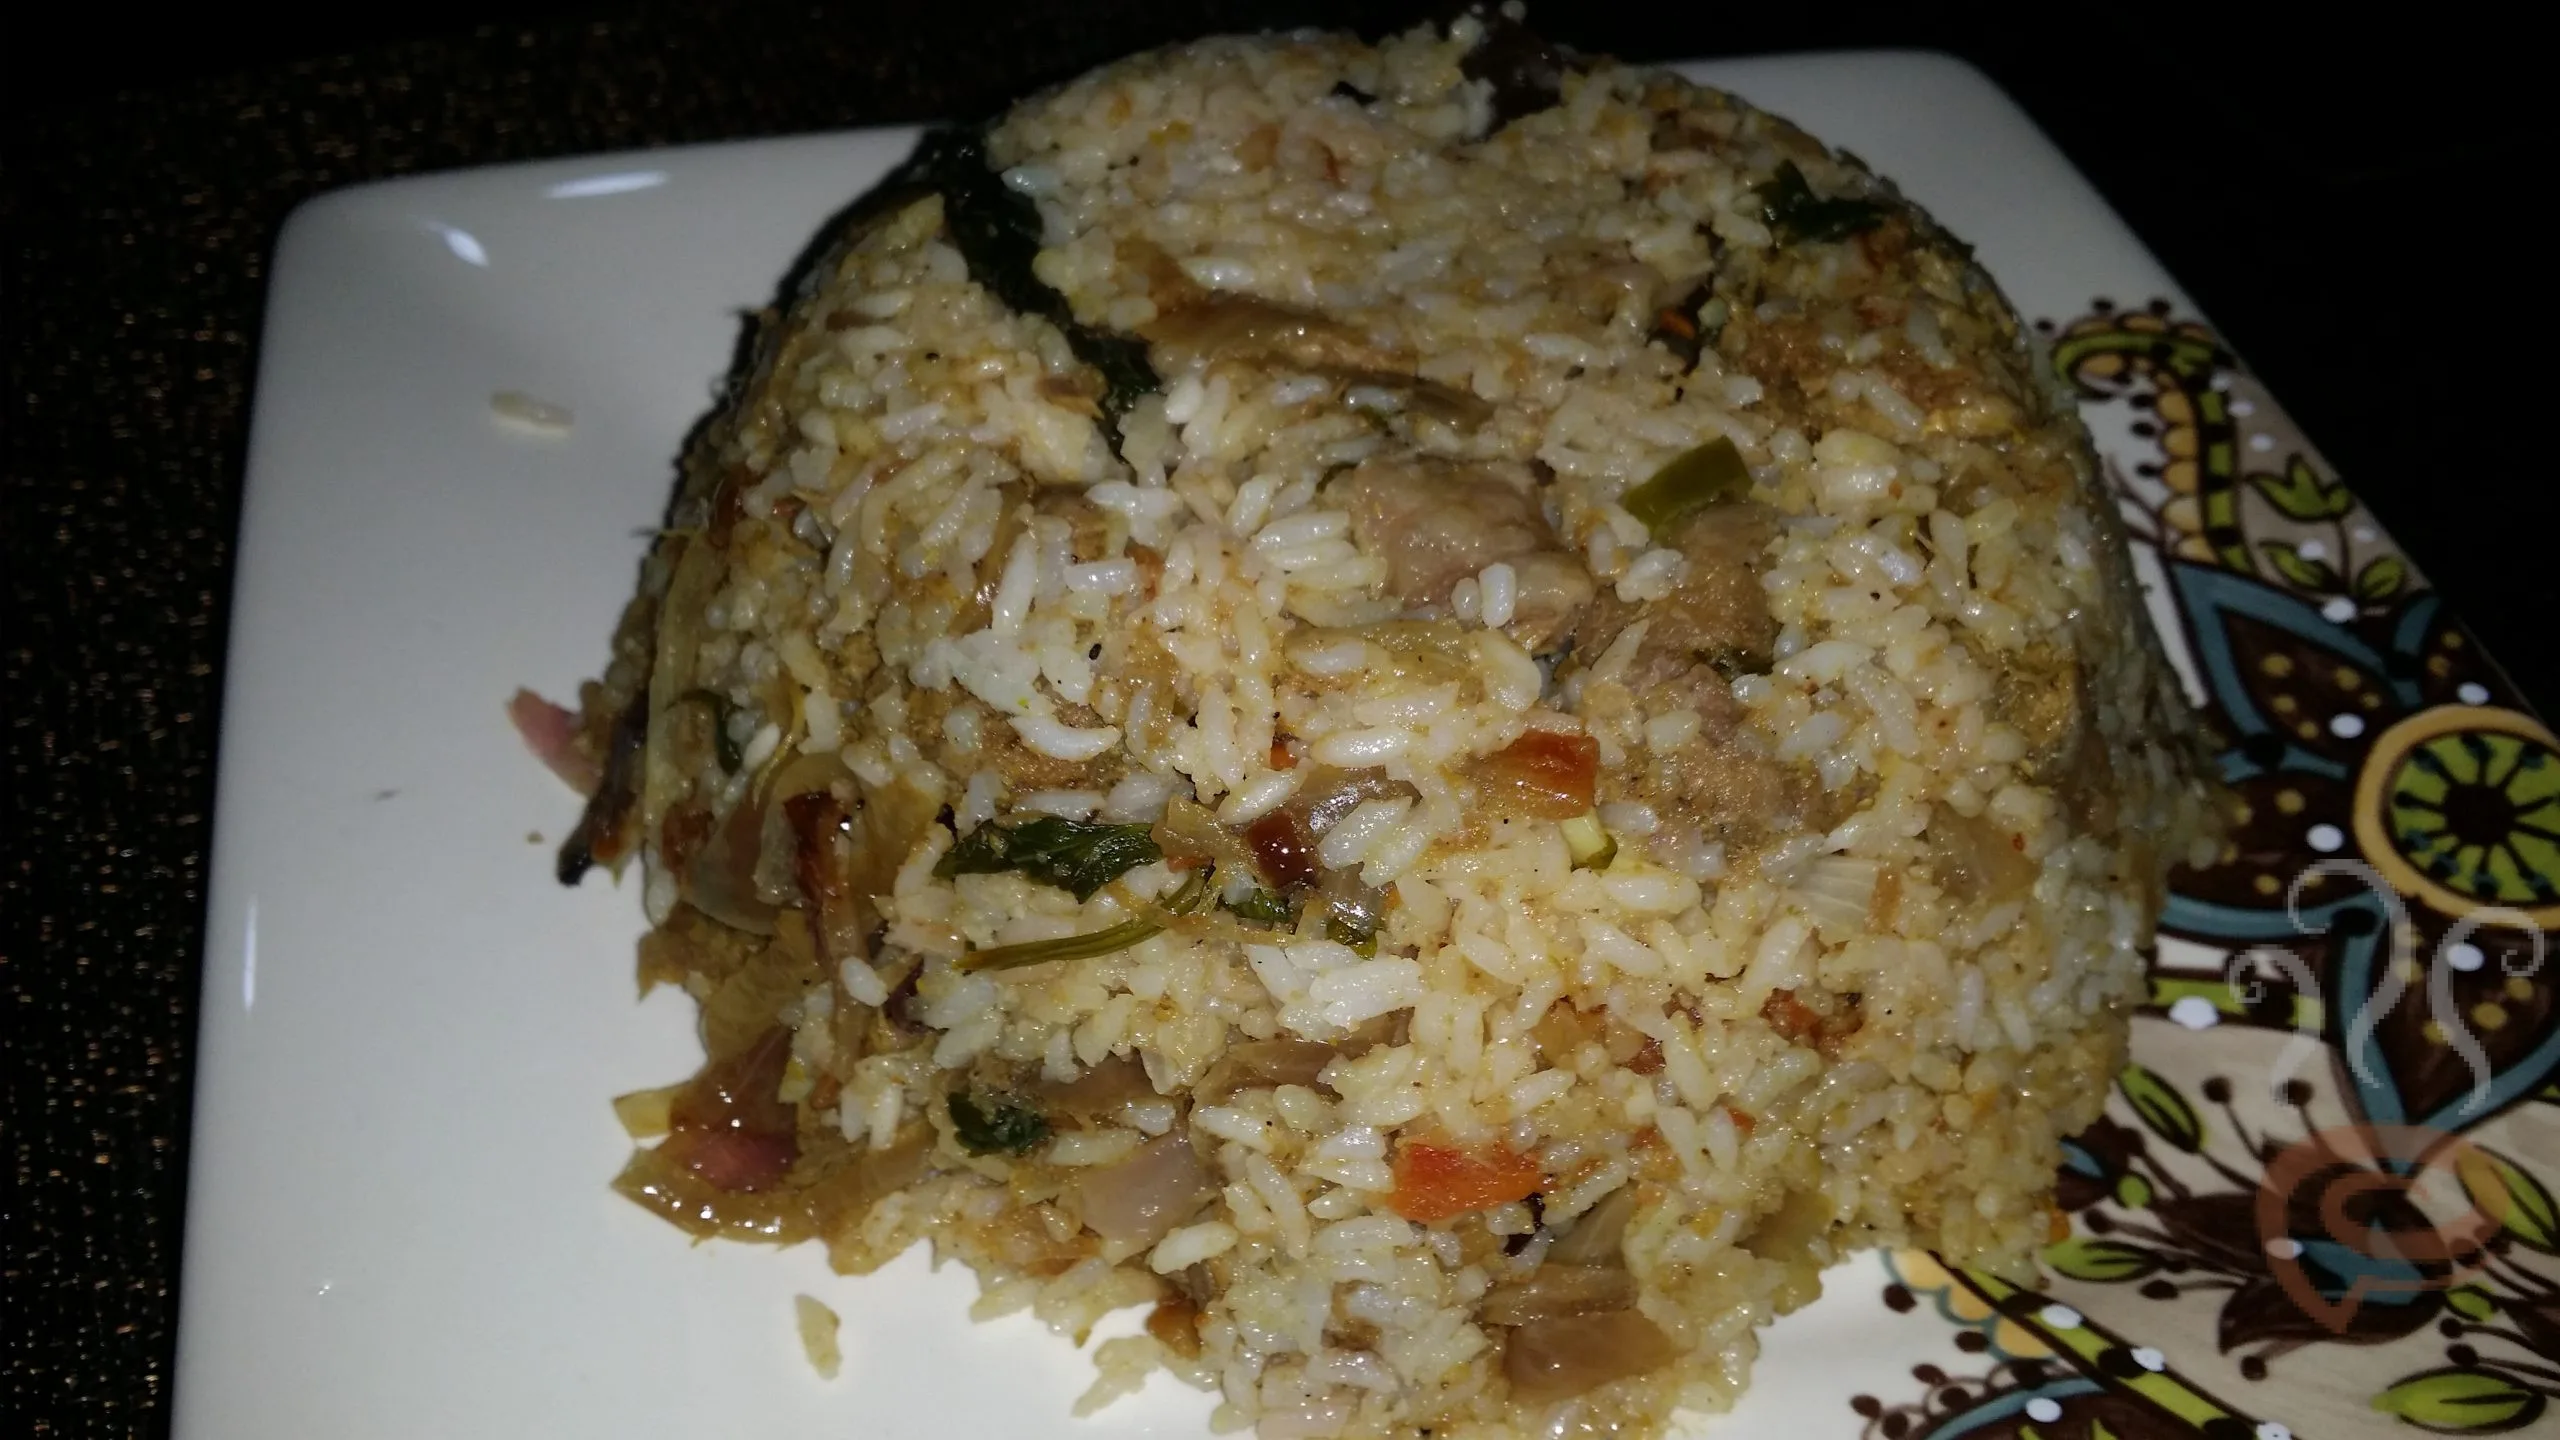
Kerala Restaurant Style Mutton/Beef Biriyani: A Gastronomic Marvel
Kerala, the southwestern coastal state of India, is a land of diverse landscapes and cultures. Among the many culinary gems that Kerala offers, Mutton and Beef Biriyani stand out as delightful concoctions that have made their mark not only in local households but also in the culinary world. In this article, we delve into the captivating world of Kerala Restaurant Style Mutton/Beef Biriyani, exploring its origins, the fusion of Thalassery and Cochin styles and the unique dining experience it promises.
The Biriyani Tradition
Biriyani, a dish that needs no introduction, has a long and illustrious history. As it traveled through different regions and cultures, it underwent numerous transformations, adapting to local ingredients and preferences. In Kerala, Biriyani took on a life of its own, adopting the flavors of the region while maintaining its essence. The result is a harmonious blend of Thalassery and Cochin styles, each contributing its unique character to this culinary masterpiece.
Style of Thalassery : A Gourmet Experience
Thalassery, situated in the northern part of Kerala, has a distinct culinary heritage that is marked by its love for aromatic spices, ghee, and fragrant rice. Thalassery Biriyani relies on small-grain, fragrant rice varieties such as Kaima or Jeerakasala. These grains have a natural aroma that elevates the overall experience. The Thalassery influence is most evident in the use of spices. use ghee, or clarified butter for infusing the Biriyani with a rich and indulgent flavor.
Cochin Style: A Coastal Affair
In contrast, Cochin, located in central Kerala, is known for its coastal cuisine that incorporates the bounty of the Arabian Sea. Cochin Style Biriyani brings a touch of the sea to the plate. A defining feature of Cochin Style Biriyani is the use of creamy coconut and cashews. It adds a unique sweetness and creaminess to the dish, setting it apart from other regional variations.
The Fusion: A Symphony of Flavors
The fusion of Thalassery and Cochin styles results in a Biriyani that is truly exceptional. It marries the rich, ghee laden aroma of Thalassery with the creamy, coconut infused goodness of Cochin. The aromatic spices create a symphony of flavors, with each bite offering a new dimension of taste.
The Biriyani Making Process: A Labor Of Love
The rice, typically long-grain Basmati, is parboiled to perfection. Then, in a heavy-bottomed vessel, the layers of cooked meat, partially cooked rice, fried onions, herbs, and saffron-infused milk are carefully assembled. The vessel is sealed and slow-cooked on low heat in a process known as “dum cooking.” This technique ensures that the flavors meld together, the meat becomes tender, and the rice remains fluffy and fragrant. A Kerala Restaurant Style Mutton/Beef Biriyani is not just a dish, it’s an experience. The final presentation is a visual delight.
Conclusion
Kerala Restaurant Style Mutton/Beef Biriyani is a testament to the rich culinary heritage of this enchanting state. It reflects the fusion of two distinct culinary traditions – Thalassery and Cochin – that have come together to create a dish that’s an embodiment of Kerala’s diverse flavors and cultures. Whether you savor it in a local eatery in Kerala or attempt to recreate it at home, this Biriyani promises a journey of flavors that will leave a lasting impression.
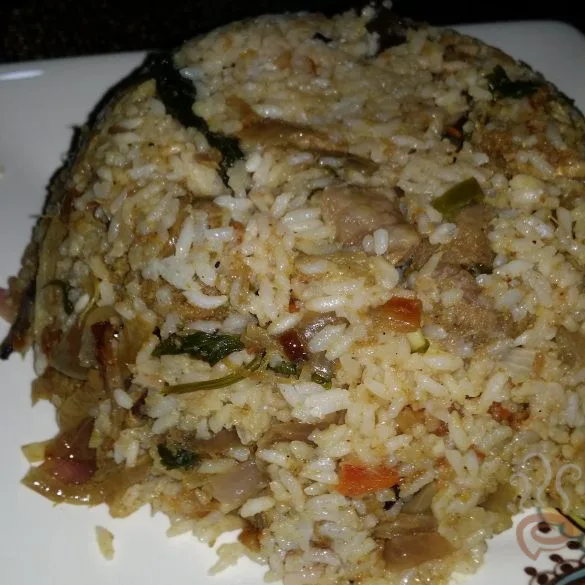
Kerala Restaurant Style Mutton/Beef Biriyani
Ingredients
- 1 kg Mutton/Beef cut it into medium to large pieces
- Salt As reqd
- 1 tsp Turmeric powder
- 1 tbsp Chilly powder preferably kashmiri chilly powder
- 8 nos Onion Big Size, slice it thin length wise
- 1 big Ginger
- 8 pods garlic
- 12 nos Green chilies
- Coriander leaves thinly sliced
- Mint leaves thinly sliced
- 3 nos Tomato small size, cut it round
- 4 tbsp Coconut grated
- 1 tbsp Cashew ground
- 1 tbsp Almonds ground
- 1 tsp Garam masala usually this is made from Cinnamon sticks, cardamon, cloves, jathi pathiri[Mace] and Aniseeds [Perinjeerakam]
- 2 tbsp Curd
- Salt As reqd
- 1 cup Pineapple cut in small pieces, Optional
- 1 tsp Rose water
- Color a pinch
- 2 tbsp Cashew
- 1 tbsp Raisin
- Lime juice from 1 lime
- 3 1/2 cup Rice Medium cup - soak it in water for 15 minutes
- 1 tsp Rose water
- Salt to taste
- 2 small Cinnamon sticks break it into pieces
- 4 nos Cardamom elakka
- 4 nos Cloves grambu
Instructions
- Clean the meat very well and make it medium size. :- Do not cut it into small pieces. It has to be little bit bigger pieces.
- Marinate the meat with salt, turmeric powder and chilly powder and keep it for 15 to 20 minutes with little bit of water.
- Cook the meat in pressure cooker up to 3 to 4 whistles (around 10 to 15 minutes) :- Usually 3 whistles are enough.
- Cook the rice with 1 teaspoon rose water, required salt, cinnamon sticks, cardmom, cloves and ghee. :- You can also fry the rice for some time and when it becomes kind of crispy cook it with water. The water quantity is 1 and half cup water for 1 cup rice. Frying the rice is optional. :- Make sure you have put enough salt. You can taste at a later stage and add it if it is not enough.
- When the rice is kind of done switch it off. :- If the rice is not cooked you can add some more hot water and cook it. Rice should not be 100% cooked. It must be only around 90% or less. When you bake/dum the rice will get cooked well.
- Fry pieces of cashew and raisin on the same oil. :- Do not burn it. Keep it aside. This will be used to garnish the biriyani.
- Heat oil in a big thick bottom vessel and put the above grounded green chilly mix to the vessel and saute it well.
- When the raw smell starts add tomato into the vessel and saute well.
- The tomato becomes fluffy put the coriander leaves and mint leaves to the vessel and saute it well until it mix well with tomato and cook well.
- Mix the curd and cook it for 5 minutes.
- Add garam masala and mix it well.
- Add the cooked meat with the left over gravy water. :- If there is lot of gravy left do not use the whole thing. Masala cannot be too much watery. It should be only enough to mix with the rice.
- Now split the rice into 2 equal portions and mix rosewater and color.
- Remove half of the masala from this vessel and put the first portion of rice in that vessel and spread it.
- Then pour little lime juice, ghee 1 teaspoon, add some pineapple, then color with rosewater and a pinch of garam masala on top of it.
- Now add masala with meat on top of the rice and add the rest of the rice on top the masala and repeat the pineapple, lime juice, color with rosewater, then put then spread the cashew/raisin/fried onions and ghee and a pinch of garam masala top of it. :- You do not have to finish the whole color mix. Just put enough to get smell and color.
- Use a long spoon and mix it little with meat and gravy. You just need to make holes here and there and just shake it. Don't mix it too much.
- Now close the vessel with a lid and cover it with a foil make it very tight.
- Keep the vessel in the over for 20 minutes on bake mode around 350 degree or so. If you dont have oven, put the vessel on a light flame and keep it for 15 to 20 minutes.
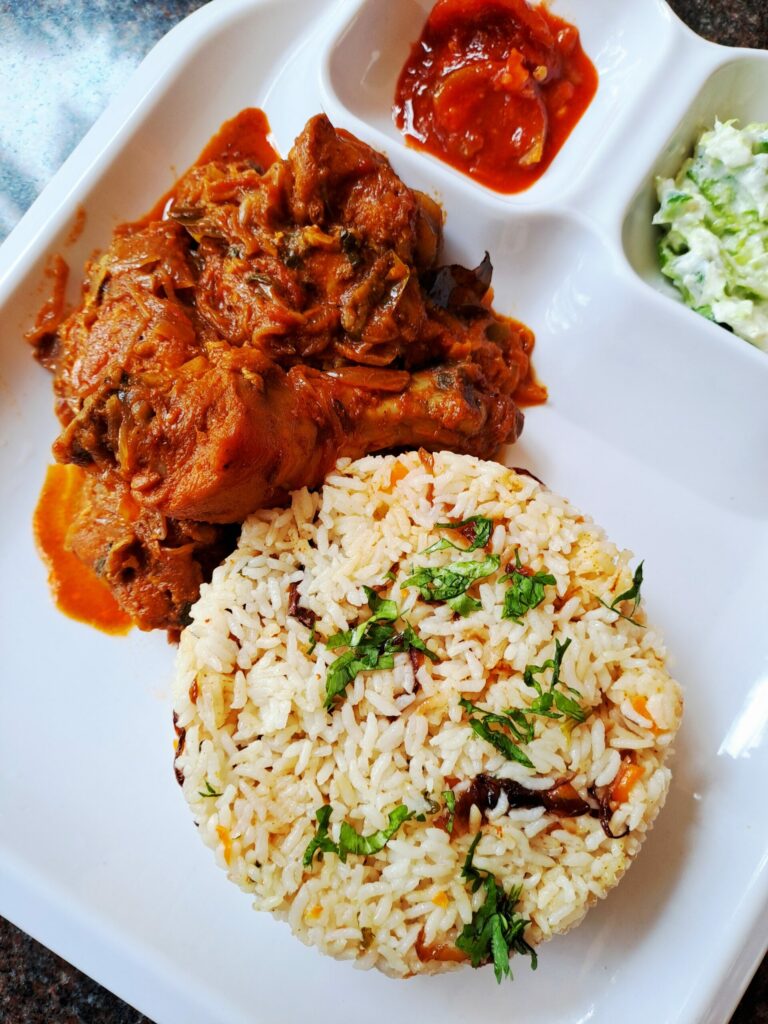
- :-Restaurant Style Mutton Biryani is ready!!!
- :- Serve the mutton biriyani with pappad and salad.
- : This recipe is mix of Thalassery and Cochin preparation.
Notes
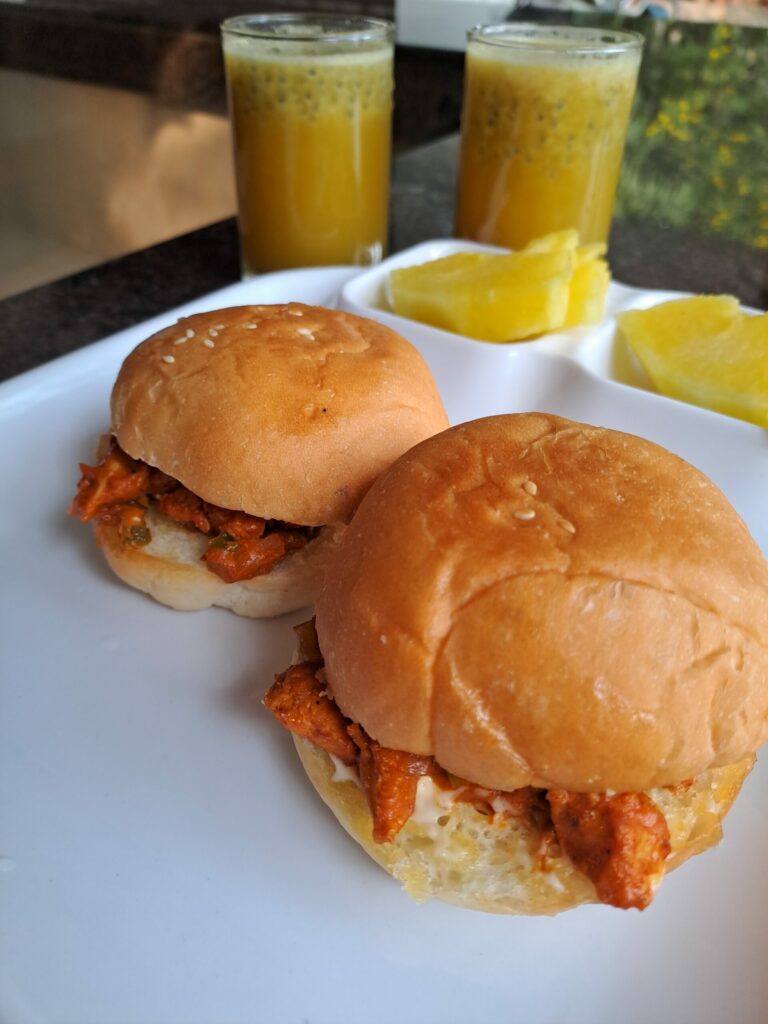
Homemade Chicken Cheese Burger | Easy Chicken Burger at Home

Malabar Kada Roast | Quail Fry | Malabar Quail Roast
Manjali Chicken Biriyani | Manjali Biryani Kerala Style

Kerala Traditional Egg Omelette | Nadan Mutta Omelette

 R
R
Chilly Pakoda | Chilly Pakora With Video
 R
R
Kaya Mezhukkupuratti with Video

Homemade Chicken Cheese Burger | Easy Chicken Burger at Home
Malabar Kada Roast | Quail Fry | Malabar Quail Roast
Manjali Chicken Biriyani | Manjali Biryani Kerala Style
Kerala Traditional Egg Omelette | Nadan Mutta Omelette
R
Chilly Pakoda | Chilly Pakora With Video
R
I tried this and came out well. Thank you..
This is an excellent recipe. Even though it takes extra time, worth it.
Excellent biriyani! This turned out to be the best biriyani recipe. It takes extra fifteen minutes but the taste was superb.
Super delicious!!!!!
Superb recipe…….hats off to you!!tried it..came out too well!!!!
First time in life, am cooking beef biryani. It took me 1.5 hrs to prepare..